This is the first in a series of tutorials that will take you through the building of your first web application.
If you have decided to venture into web development and have no idea where to start, then you’ve come to the right place.
A web application is a client-server software application in which the client, or user interface, runs in a web browser.
With many platforms available – namely Microsoft Windows, Mac and Linux – it is a bit daunting to know where to start. For this tutorial, we’ll stick with Windows as, statistically, it is pretty much installed in everyone’s home computer, and you can get hold of a Windows system a lot more cheaply than you can one of Apple’s hugely expensive variety of Macs.
WAMP (Windows, Apache, Mysql and PHP) installers for Windows come in several flavours. It will be up to you, the user, to decide which is best for your case, but in this tutorial, we will be we using XAMPP’s.
So what is XAMPP?
XAMPP is a free and open source cross-platform web server solution stack package developed by Apache Friends, consisting mainly of the Apache HTTP Server, MariaDB database, and interpreters for scripts written in the PHP and Perl programming languages.
XAMPP stands for Cross-Platform (X), Apache (A), MariaDB (M), PHP (P) and Perl (P). It is a simple, lightweight Apache distribution that makes it extremely easy for developers to create a local web server for testing purposes. And because it is cross platform, it will work on Linux, Mac and Windows.
Setting up a development environment in Windows
The first thing we need to do, is to navigate to XAMPP’s website (https://www.apachefriends.org/).

Since we are downloading for Windows, click on the XAMPP for Windows button to initiate the download. Depending on your connection, you should get the file relatively quickly. Once the file has downloaded, navigate to its download location and double click on it to start the installation process.
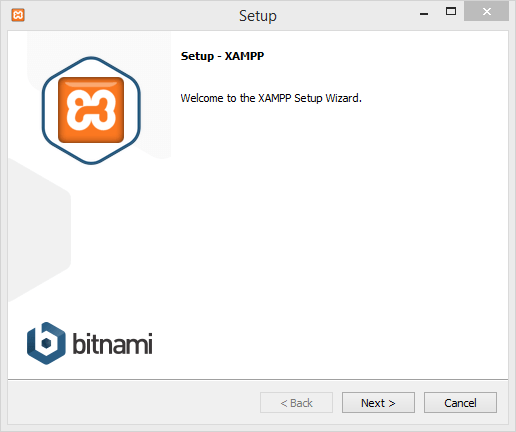
Welcome screen
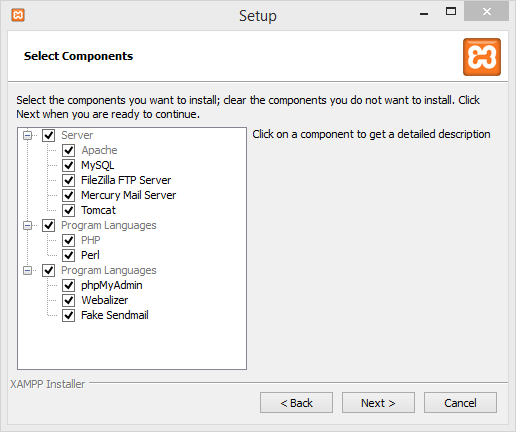
Component Selection Screen
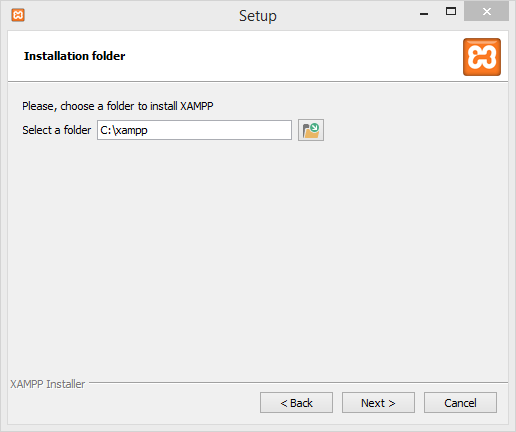
XAMPP Installation folder screen
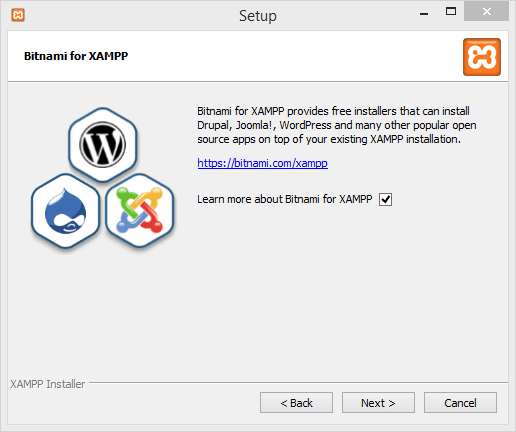
Bitnami Info Screen
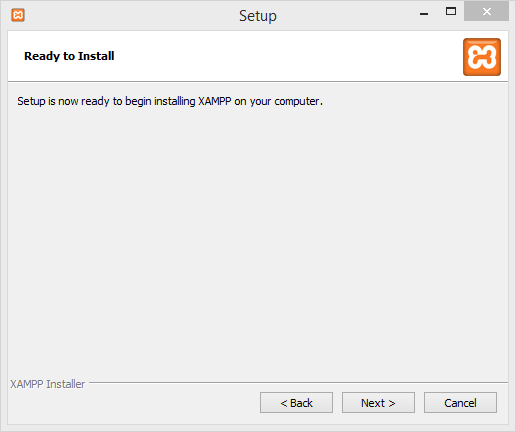
Ready to install screen
Simply follow the instructions on the screen to install XAMPP on your system by clicking on the Next button.
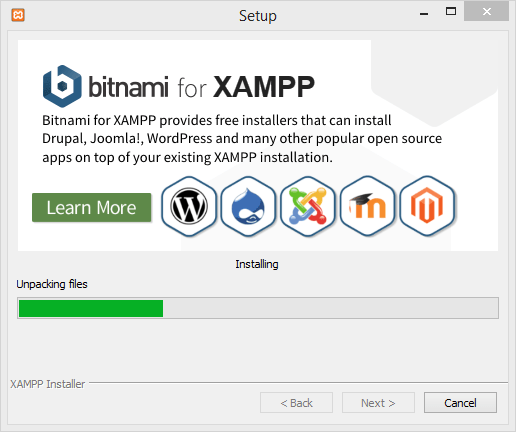
Install progress screen
Once you have done all of the above, the installer will then start setting XAMPP up on your system. This will take a few short minutes. If the install has been successful, you should see the screen below:
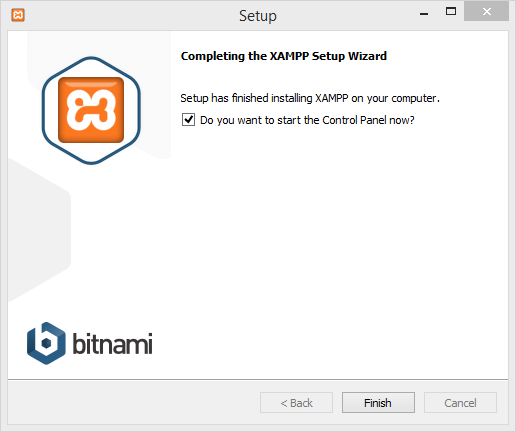
The option to start the Control Panel will be preselected for you as well. It’s best to leave this as it is. Click on the Finish button to close the installer and to launch the XAMPP control panel.
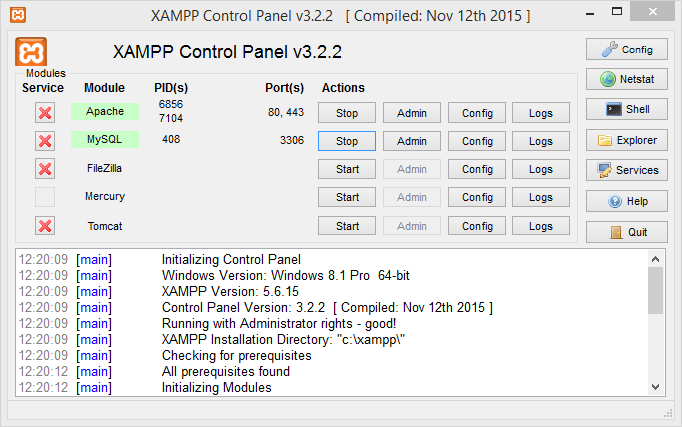
Click on the Start buttons for Apache and Mysql to get them running.
From a browser, type in the following to load the XAMPP dashboard: http://localhost
You will be presented with a screen that looks like the one below:

If you see that, your XAMPP installation has been successful and you are ready for your first brave foray into the web development world.
On the next article, we will show you how to secure your XAMPP installation.